
 103
103
PROCEDURE
-
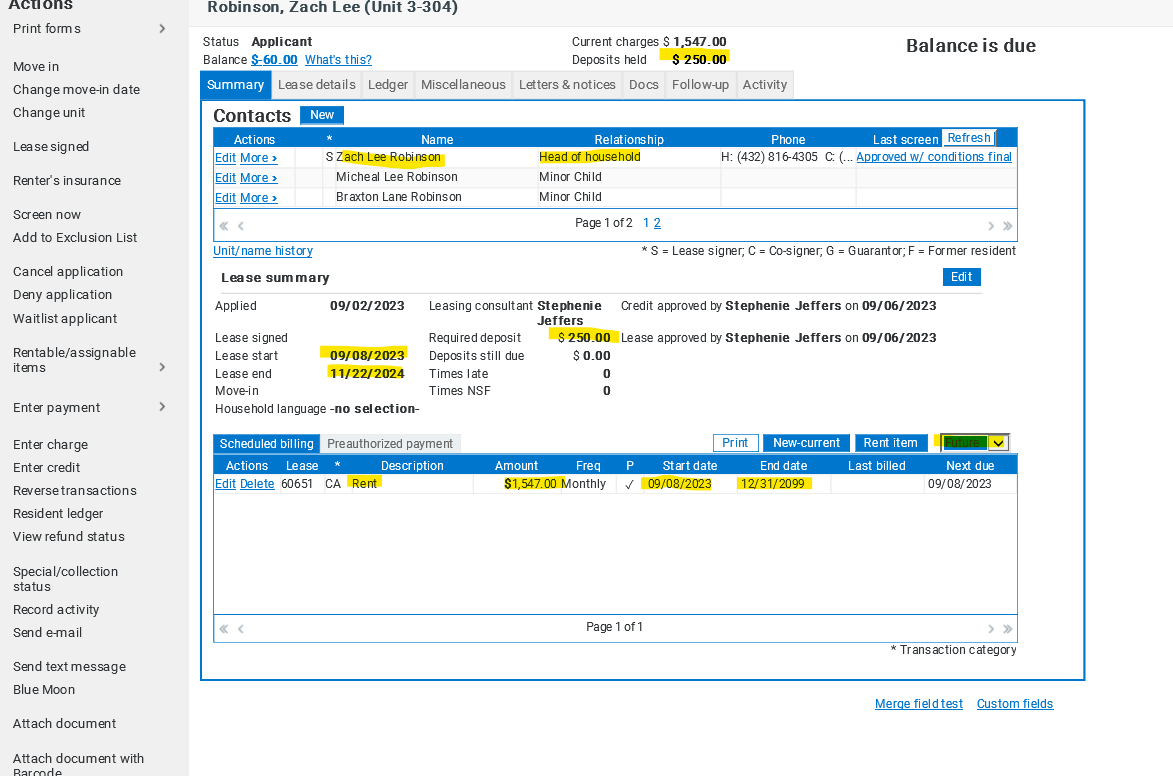
Check the resident’s summary page and confirm names, dates, scheduled billing, deposit, late fee method, etc. are all accurate BEFORE generating the lease.
-
Go into the resident’s “packet” or “file” by clicking the Docs tab up at the top of the summary page>Resident’s name>Packets>Ambo Move in Packet

3. Select “Generate Forms” to generate the lease and addendums.

-
Verify that all required forms are selected to generate and click “Generate”.

-
A window will appear labeled “user defined merge fields”. You should not have to enter anything here, so just go ahead and click “save”.

-
Your lease is now generating. Notice the notes update.
-
If there is a note next to any document that says, “Data sent to Blue Moon” or “Form has been queued”, this means that the form has not finished generating. You will need to ensure that you click the “refresh contents” button until every document has a note that says, “Data has been received from Blue Moon”, or “Form has been Generated”
-


-
Once all lease forms have finished generating, you are ready to view your lease to make sure it is correct before sending it to be signed. To do this, select “Print/View Packet”, and then select “Print/View” again in the new window that pops up.
-
Scroll through your lease and make sure it has been generated correctly. Review rent, lease dates, names, early term fee, late fee method, additional charges, etc. before sending the lease to be signed.
-
If everything looks good, you may now send the lease to be signed via e-signature. To do this, select “Sign Documents”. Then select “Household Signatures”, then click “Sign.”

-
A window will appear with all lease-holding resident’s names and contact info. From this page you may edit the email address if needed. To send the lease, you will select “Send Email” next to the resident’s name.
-
Once sent, a message will appear letting you know it has been sent successfully.
-


-
You will now wait for all lease holding residents to sign the lease. You can monitor this through the “Documents Awaiting Signature” widget on your today page. Monitor the notes. Once the lease has been signed, the notes will automatically update to say “(Resident’s Name) has completed the document using e-sign.”


-
Once all leaseholders have signed, you will now countersign the documents to complete them. You will do this by selecting “Sign Documents” again. If all leaseholders have signed, you will now see your name. Click “Sign now” next to your name.

-
Click “Accept and Continue”>Click “Countersign All”>Click “Finish.” Now you have countersigned all the lease documents.
-
Click “Refresh” until it shows in the notes that your signature has been applied to the lease. You will also notice that the red “x” next to all the forms is now a green checkmark, which confirms that the lease has been signed by all parties and is now final and completed.


